Didn’t have much time tonight but wanted to yank the fuel tank.
Tip #1 Drain the tank of ALL gas before starting any of this
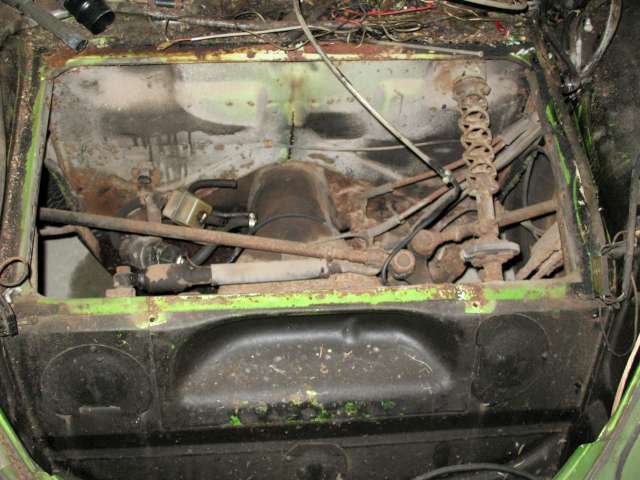
The tank has 4 13mm bolts holding it in with clips and a wire or cable going to the fuel sending unit to tell you how much gas you have left. There is also a small tube that goes out of the top drivers side of the tank to the dash area (not sure what this is for). Removal of the filler tube on later bugs is also required.
After i unbolted the tank and removed the hoses i lifted it up and braced it with a piece of wood. I used a couple sets of needle nose vice grips to clamp off the fuel lines ( 2 since my bug is fuel injected ).
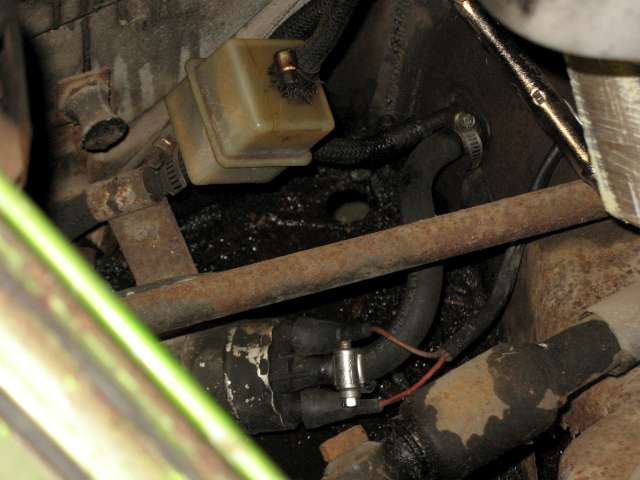
At this point I started dumping gas all over the floor of the garage because i didn’t follow Tip #1. The braided line below the tank was rotted and as soon as I moved the tank it ripped. Fire hazard anyone? You can see the lines in question in the below shot.
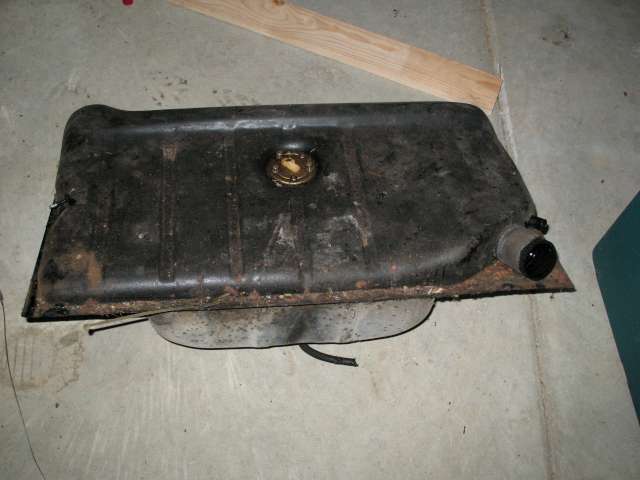
After getting these clamped I cut the lines and made a quick exit to the driveway with the tank. I tried to tip it to the drivers side which wasn’t such a great idea as the little hose connection wasn’t plugged and I spilled more gas.
Anyway here is the tank free of the car! It actually looks to be in fine shape which isn’t to surprising since this car isn’t really all that old.
Now that that is out tomorrow (or as soon as i can) I’ll be able to move on to disconnecting the master cylinder brake lines and also disconnection of the steering column. Below is a shot of the hole left by the tank removal. Doesn’t look to bad. We are getting closer every work session to fixing that frame head.